


Step-by-Step Printer Setup Guide
Click Printer Setup for step by step guidance on how to setup, configure and register your printer.
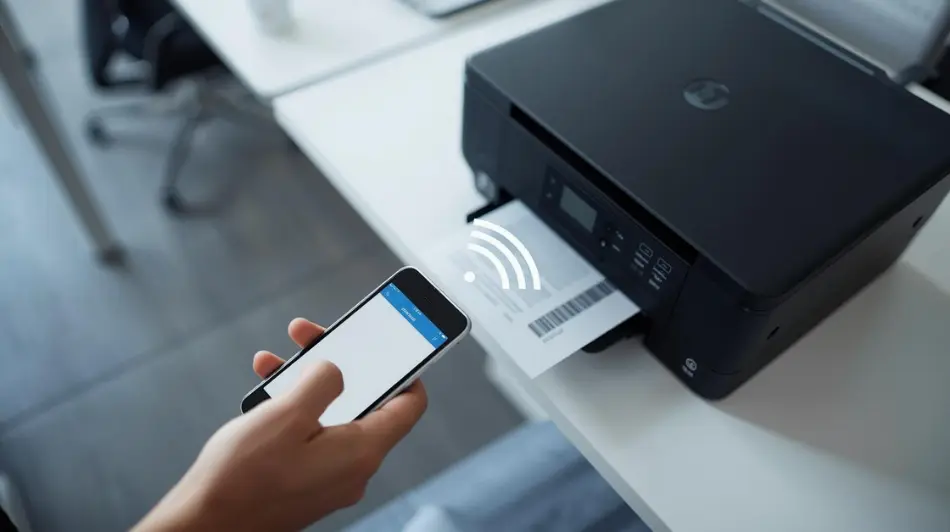
Easily set up your printer by following these simple instructions.


Step-by-Step Printer Setup Guide
Follow these steps to troubleshoot and set up your printer properly.
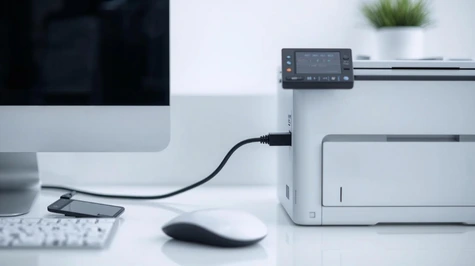
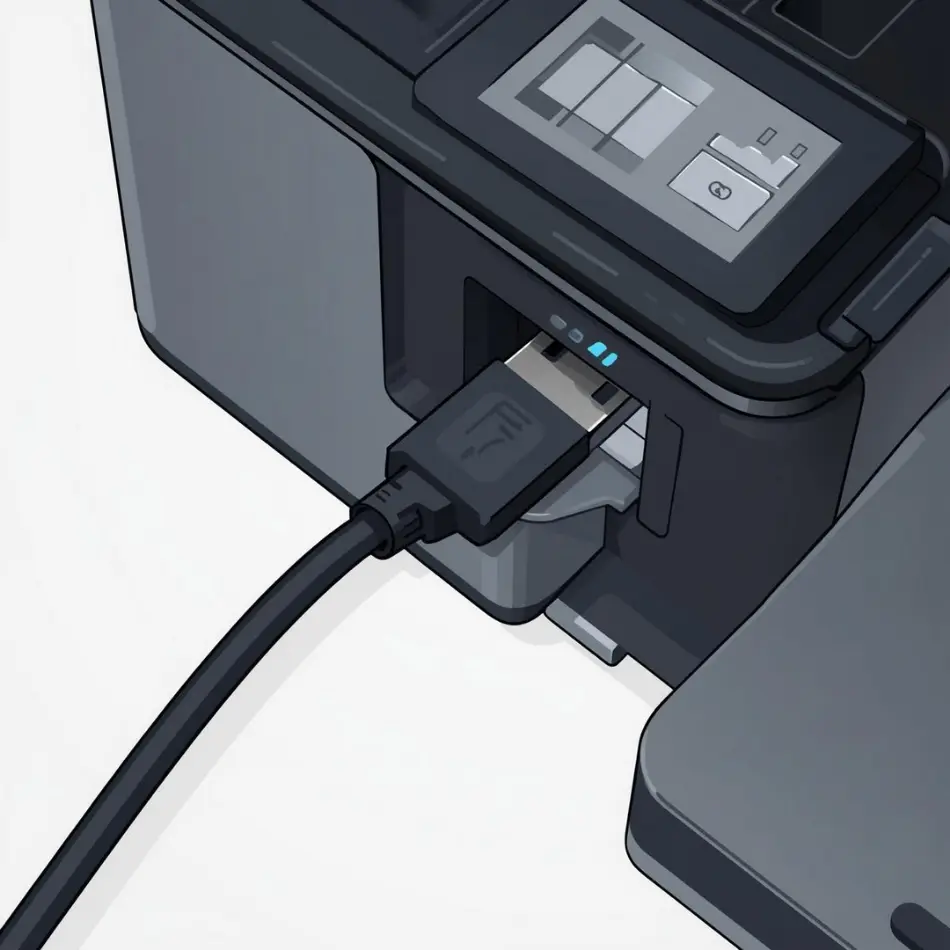
Step 1: Reconnect the USB Cable Properly
Ensure a secure physical connection between your printer and computer.
- Unplug the USB cable from both the printer and the computer.
- Wait a few seconds before reconnecting.
- Firmly plug the cable into both ends.
- Restart the printer installation process.
Step 2: Test the USB Port Functionality
Make sure the USB port you're using is working correctly.
- Try connecting the printer to a different USB port.
- Alternatively, test the current port by connecting another USB device.
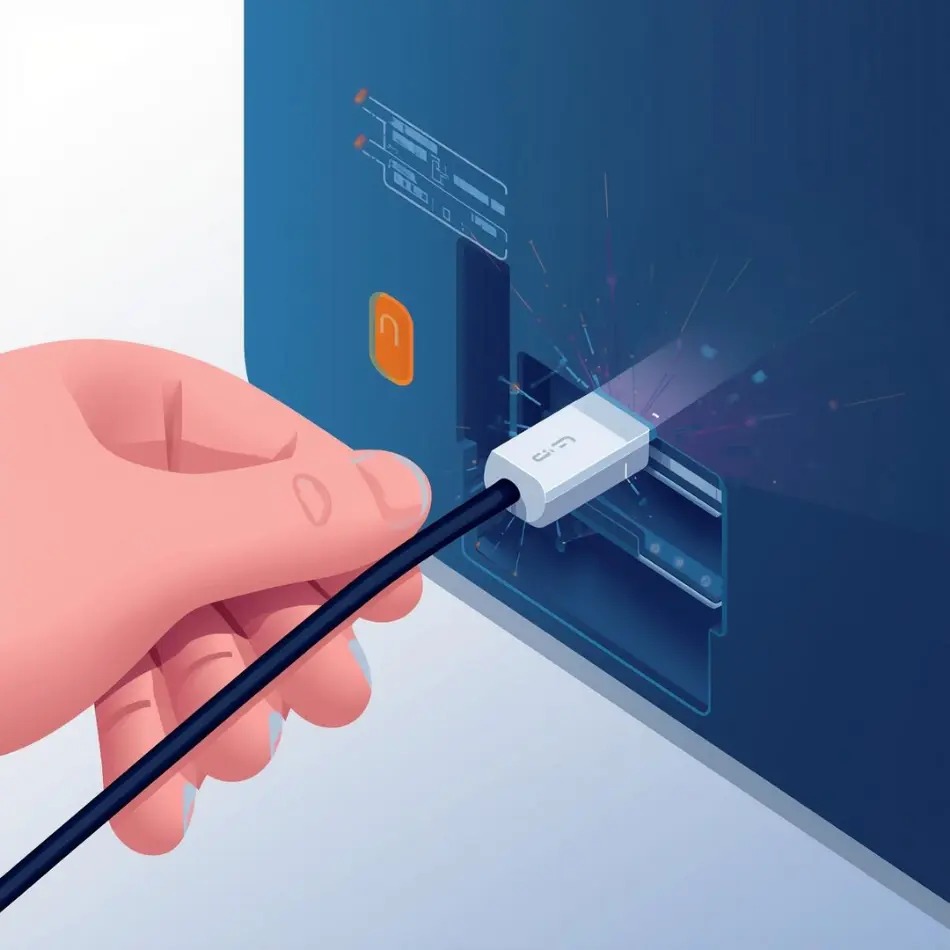
Step 3: Use a Different USB Cable
A faulty cable might be the problem.
- Swap the existing cable with a known working or new USB cable.
- Reconnect the printer and computer, then restart the setup.
Step 4: Disconnect Unnecessary USB Devices
Too many connected devices can cause conflicts.
- Unplug all non-essential USB devices (e.g., external drives, cameras).
- Keep only the mouse, keyboard, and printer connected.
- Retry the installation.
Step 5: Perform a Printer Power Reset
A quick reset can restore USB communication.
- Turn off the printer and unplug it from the wall.
- Wait at least 60 seconds.
- Plug it back into a direct wall outlet and power it on.
- If the setup resumes automatically, proceed with installation. Otherwise, run the installer manually.
Step 6: Update Drivers via Device Manager
Ensure the correct drivers are in place.
- Open Device Manager from the Start menu.
- Expand “Printers” or “USB Controllers”.
- Locate your printer, right-click it, and choose Update driver → Search automatically for drivers.
Step 7: Uninstall Previous Printer Software
Old or conflicting installations may block setup.
- Go to Control Panel > Programs > Uninstall a Program.
- Find and uninstall your printer software.
- Reboot your computer before reinstalling.
Step 8: Clear Temporary Files
Clean out junk files that might interfere with installation.
- Search for and open Disk Cleanup.
- Choose your system drive (usually C:).
- Select appropriate file categories and click OK to remove them.
Step 9: Perform a Clean Boot to Disable Interference
Eliminate background software conflicts.
- Open System Configuration (search “msconfig”).
- Under the “General” tab, select Selective Startup and uncheck Load startup items.
- Go to the “Services” tab, check Hide all Microsoft services, and then disable the remaining services.
- Restart your computer and run the printer setup again.
Solutions for Printer Software Support
Are you experiencing issues with your printer software? We provide knowledgeable assistance with updates, troubleshooting, and installation.